Every child makes their own Orli
Each child makes a squishy Orli from the kit: a balloon of pellet filler, then eyes, gems and pipe cleaners. Try it here, one step at a time.
Make an Orli, step by step
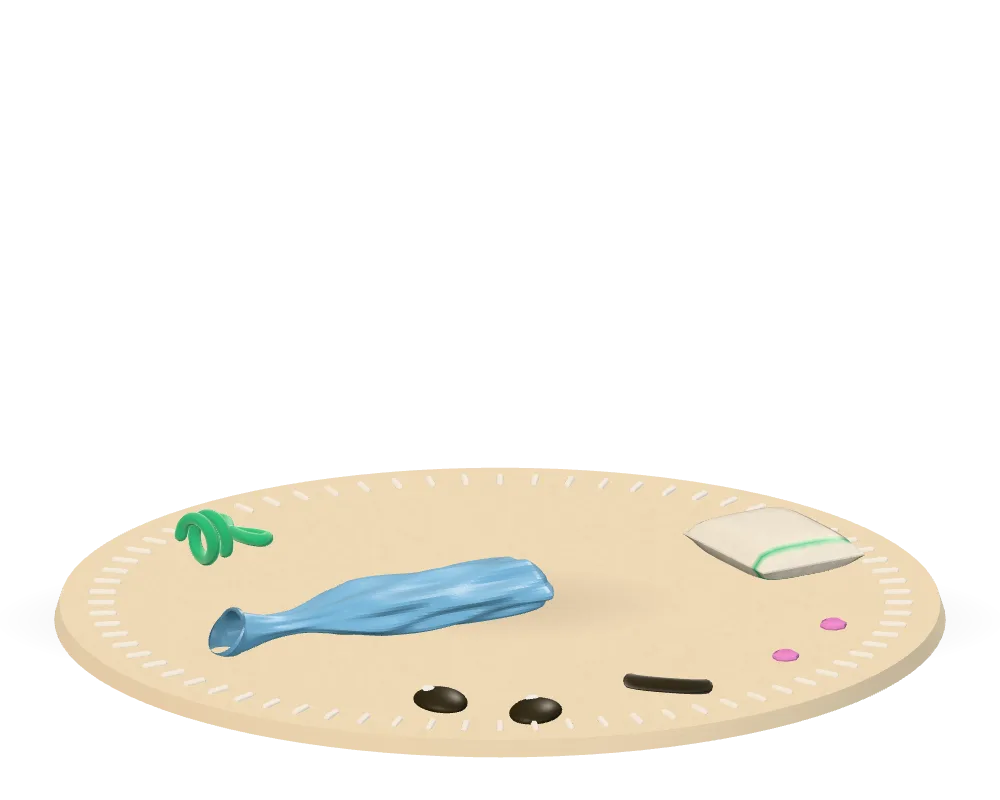 Illustration
- Fill, current step
- Tie, not done yet
- Squish, not done yet
- Face, not done yet
- Finish, not done yet
A grown-up does this step
Step 1 of 5: Fill the balloon
Press and hold the button to pour in the pellet filler. Let go to pause. Keep going until the bar is full.
-
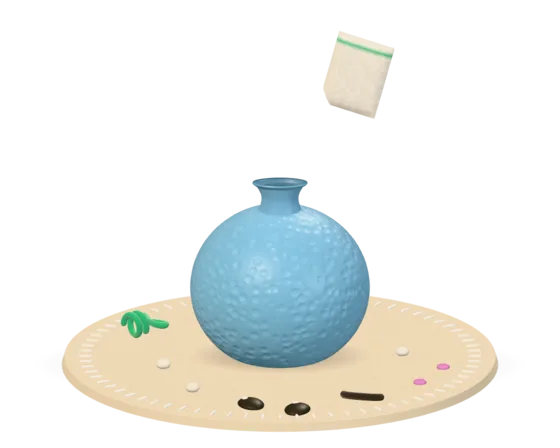
1Fill the balloon
A grown-up does this step.
-
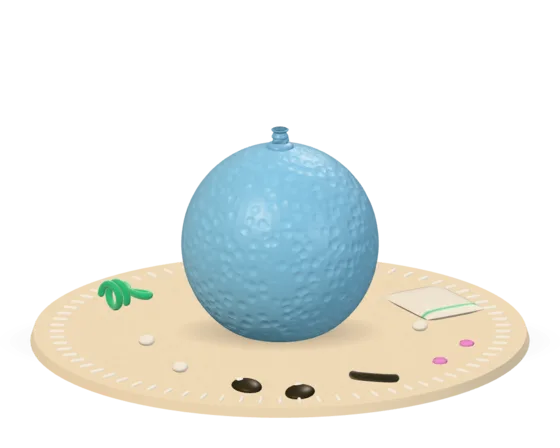
2Tie it off
A grown-up does this step.
-
3Give it a squish
The child does this step.
-
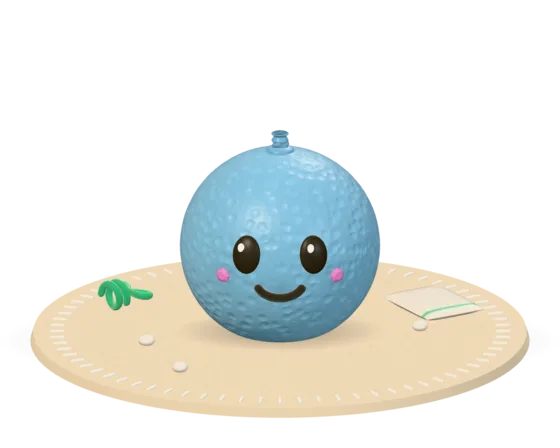
4Give it a face
The child does this step.
-
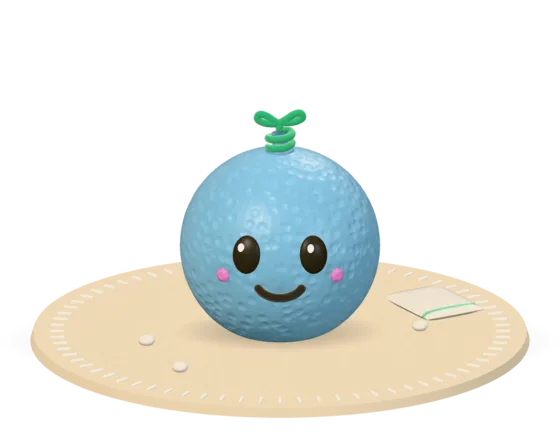
5Make it their own
The child does this step.
What’s in the trial box
Everything children need to make their own Orli, for a small group of 5 or a whole class of 30. The kit is free. You just cover postage and packaging.
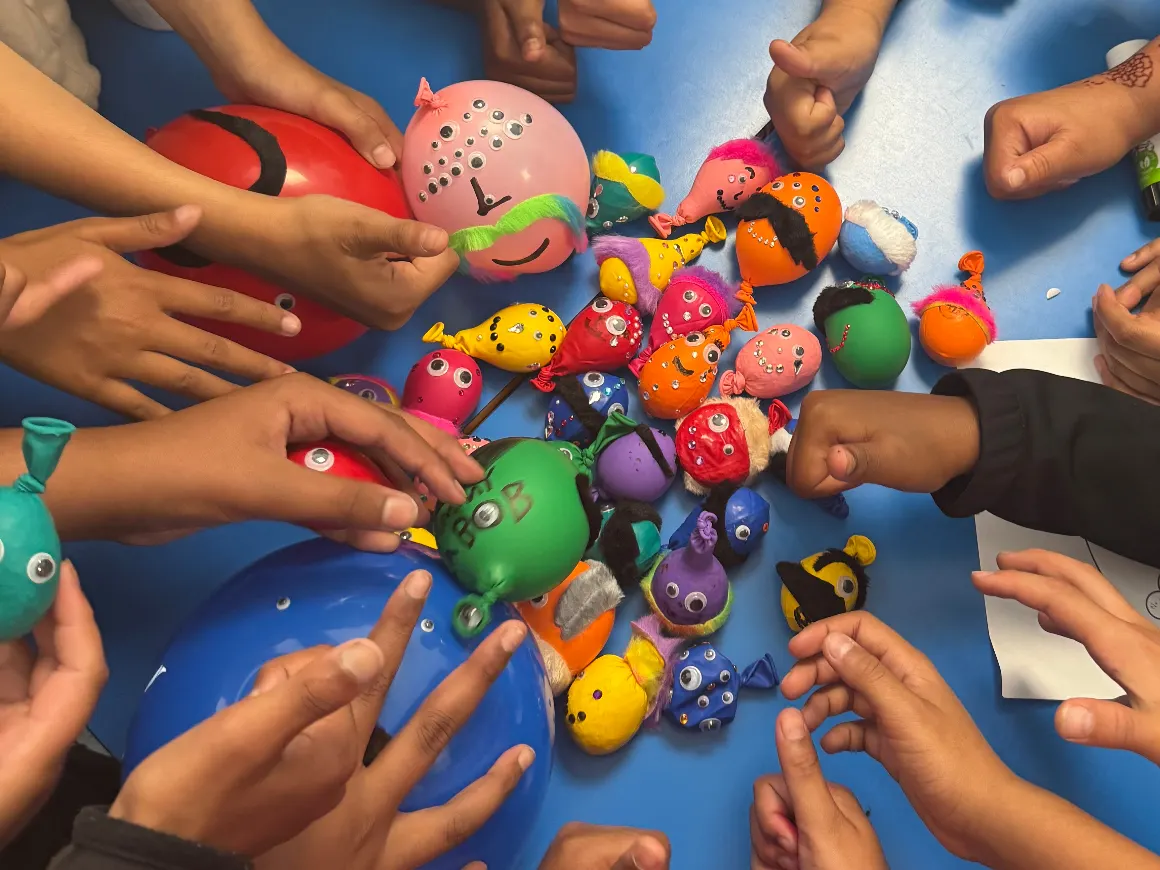
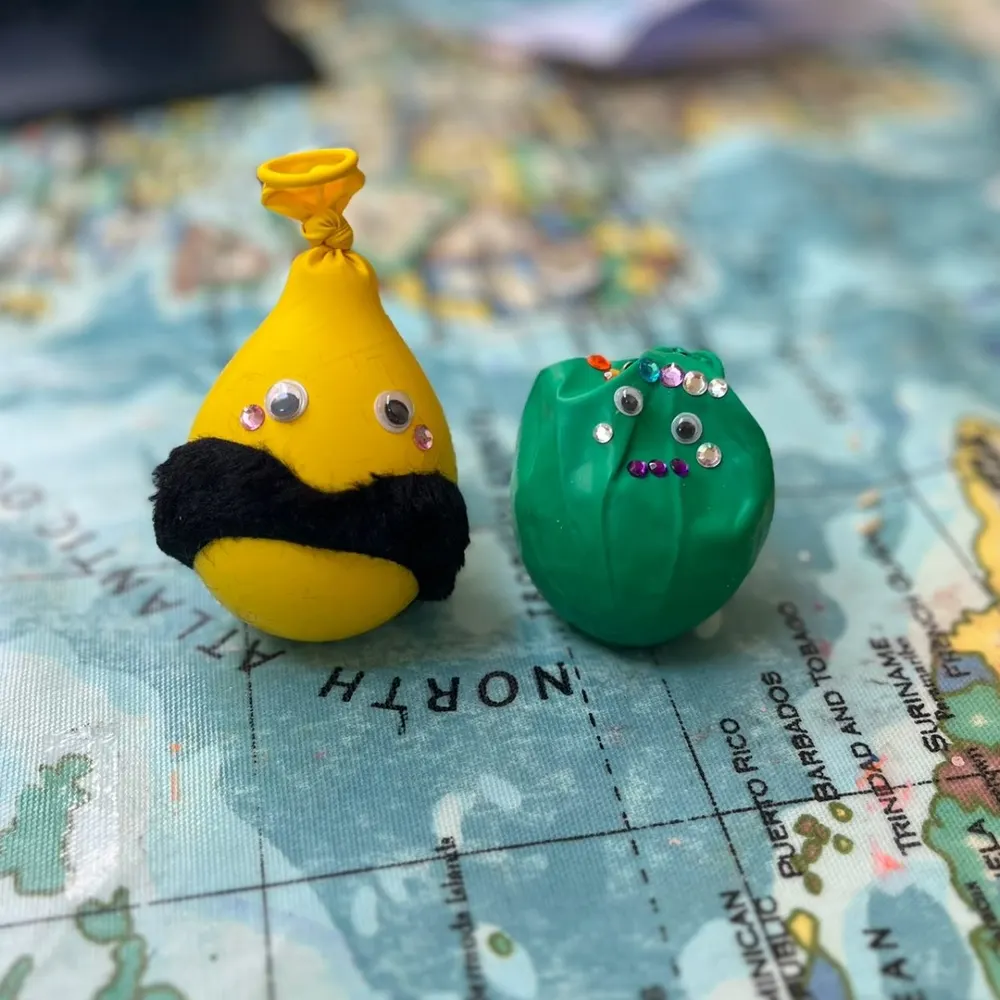
To make the Orlis
- Balloons, one per child
- A sealed bag of pellet filler
- Googly eyes and stick-on eyes
- Gems
- Moustaches
- Pipe cleaners
An adult fills and ties each balloon.
To use with them
- Five printed scrapbooks, plus a printable scrapbook for the rest of the class
- A teacher guide
Bring your own
A laptop and the class board, plus paper and pencils.
Contents are still being finalised.
Make one on screen, too
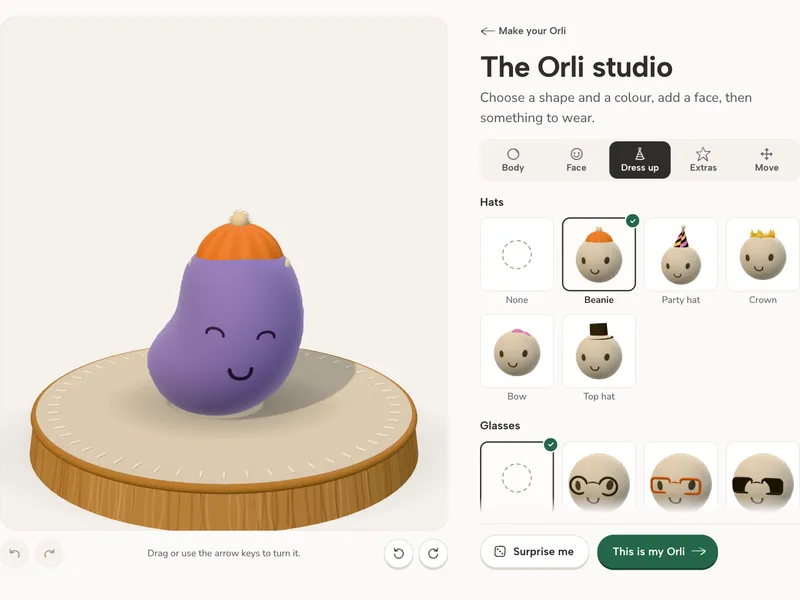
In the Orli studio, choose a shape, a colour, a face and a hat. Then save a picture, or download it to 3D print.